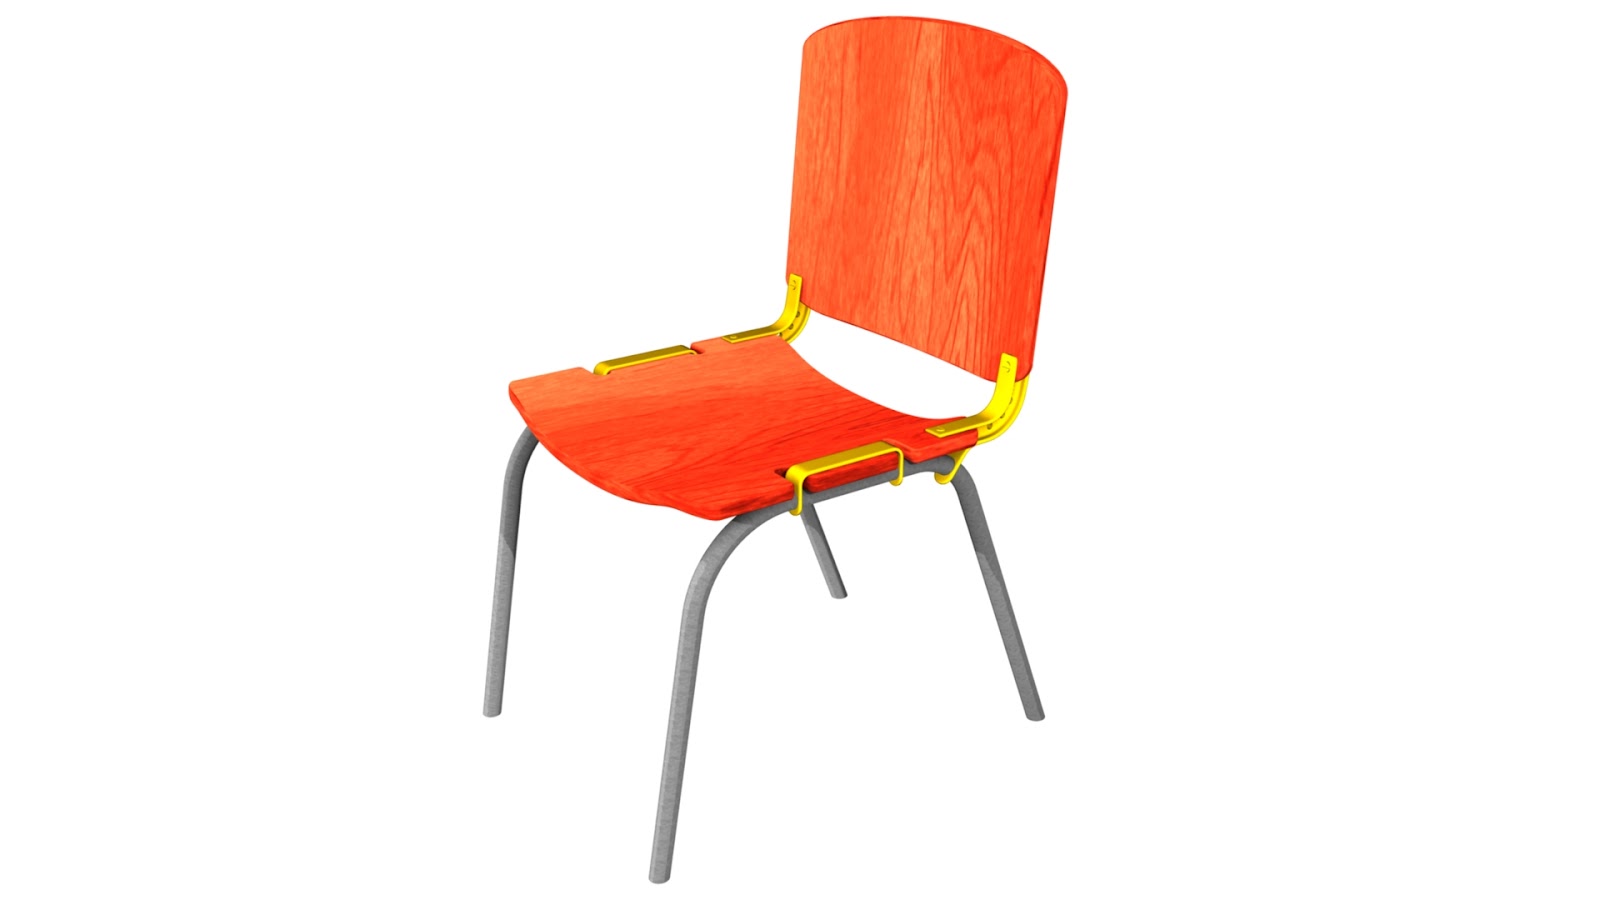
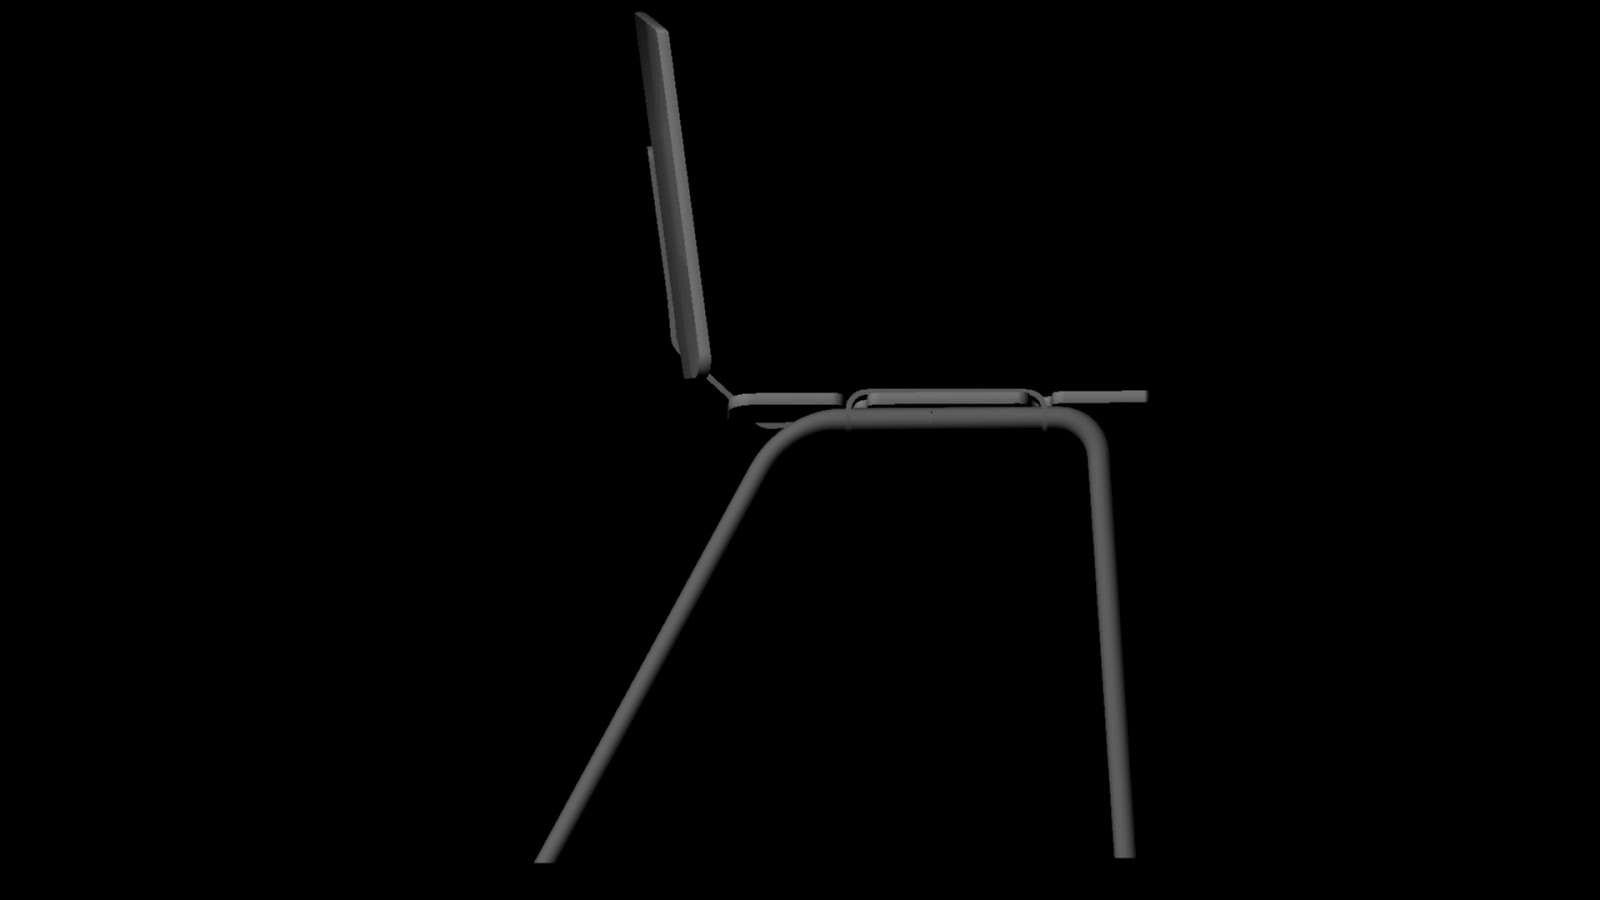
I am very pleased with the way my design turned out, My initial idea was to produce a design which looked unstable and weathered so it would cause the user to be weary about sitting down on it, but throughout the development of my chair i began disliking that concept. The concept i came u with was to produce a design which incorporated fixtures and fittings which made the chair look expensive, precise and balanced, I took the inspiration from Old Brass instruments used by scientists to make very precise observations. I think that the red stained wood fits the brass colour fixings very well and gives the design a subtle Steampunk look.
Materials
The Back And the seat would be constructed from stained red layered plywood as this is much lighter than the hard woods that it is imitating, The fixings would be constructed from cast steel and finished to look like light quality brass. The legs of the chair and the supporting beam will be constructed from steel tubes which have been welded together.
Manufacture
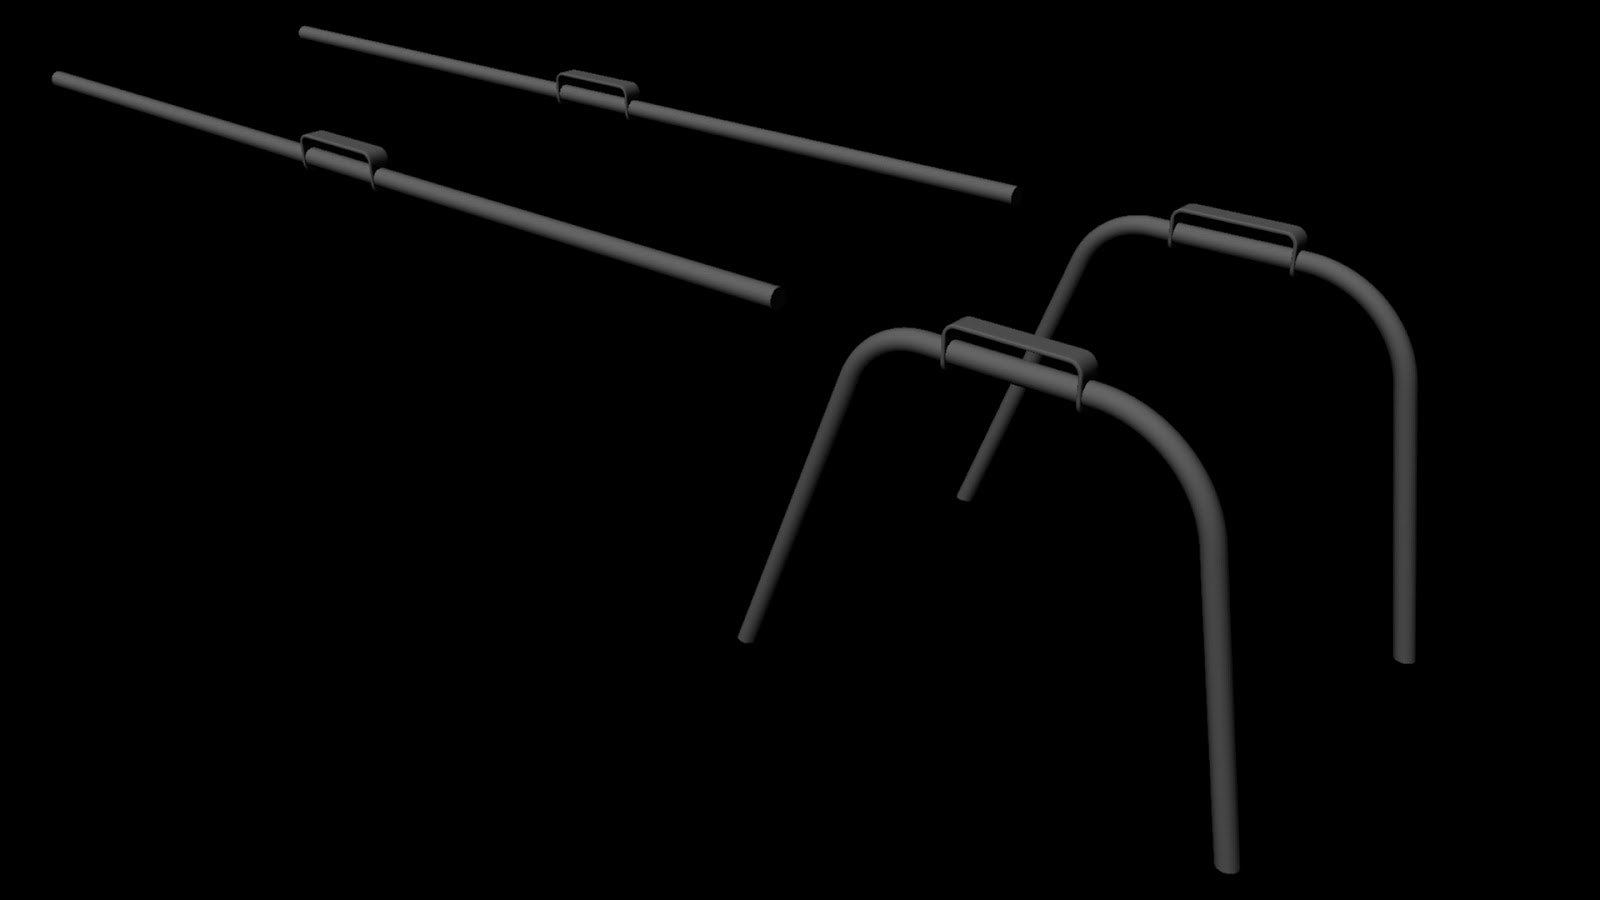
- The brass strap which secures the seat will be produced and slid down the legs
- The legs will then be bent into shape
- The supporting beam will be welded to both of the legs
- The seat will then be inserted into one of the straps
- The seat will then be bend down at the other strap is rotated over the top of the other side
- The seat will then be secured to the support beam on the underside
- The fixings between the back and the seat will then be slid up the legs, rotated and secured to the seat
- the back will then slip down onto the fixing and secured from the back
- the leather strap containing the model number will then be fitted to two buttons on the right side


